
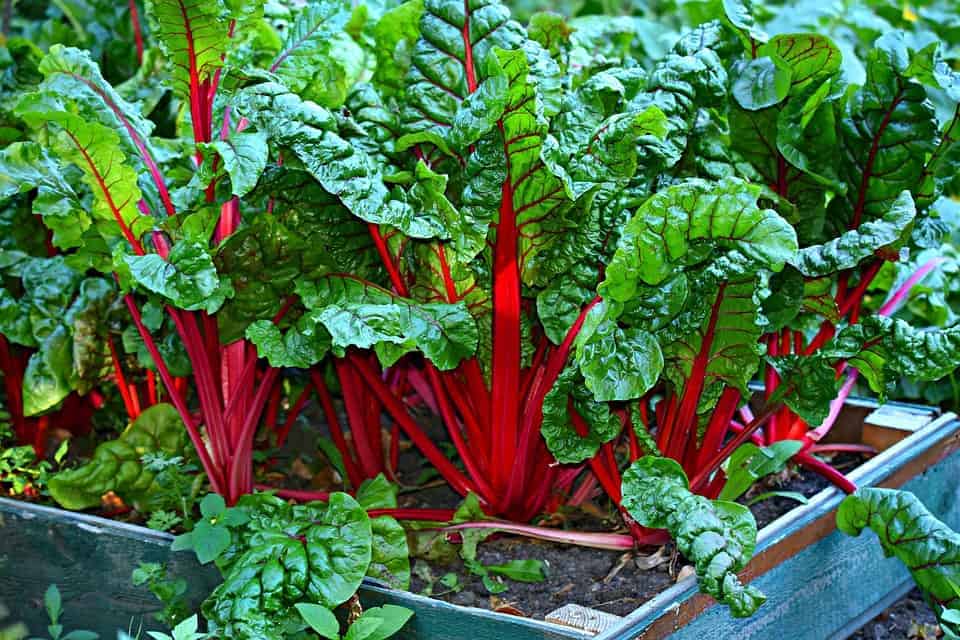
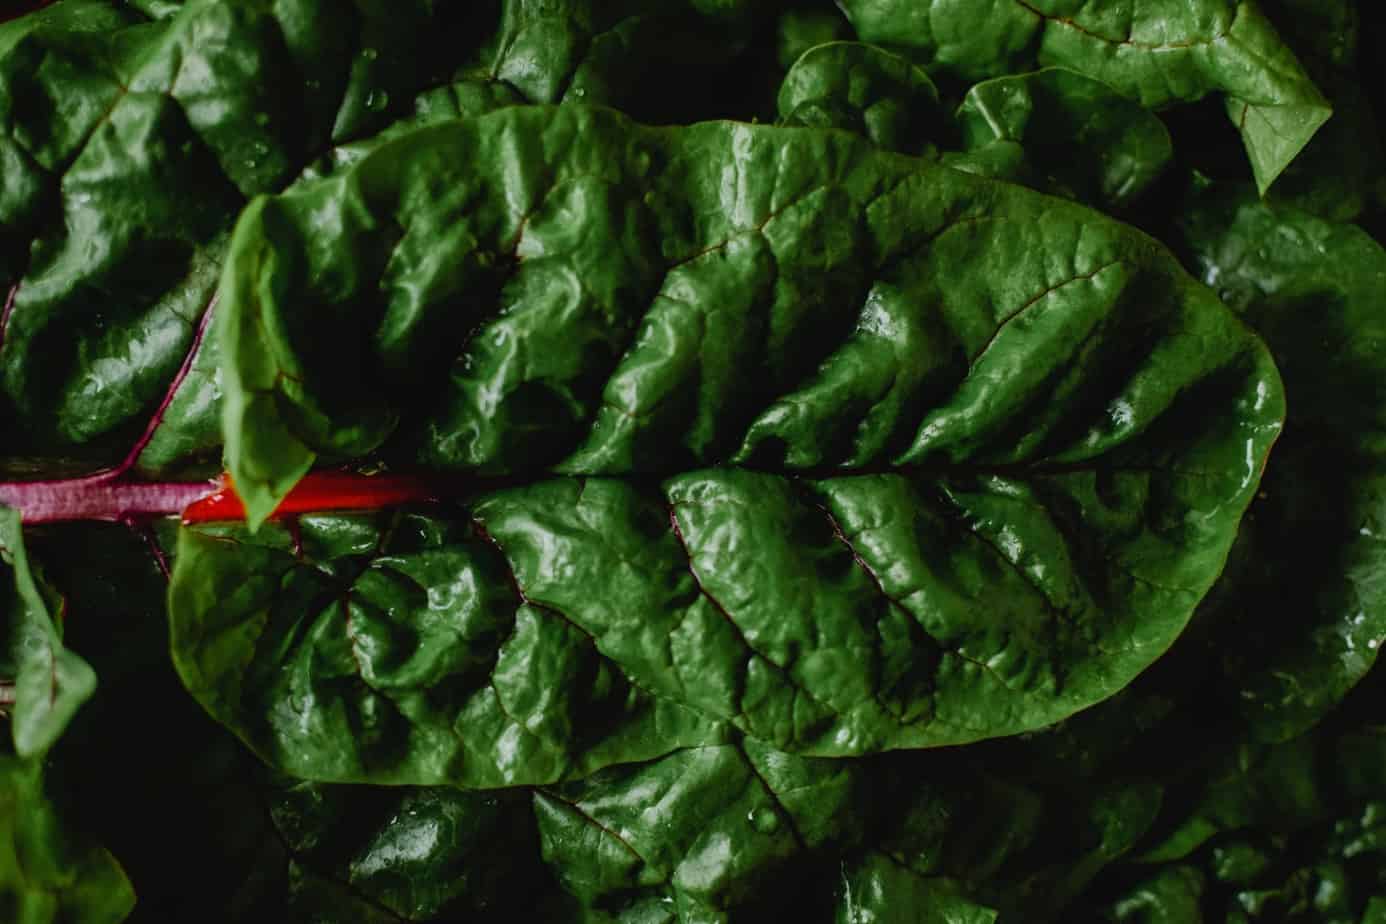
Swiss chard has quickly become one of my favorite salad greens to grow. I eat the stalks and the leaves. The leaves have a spinach-like flavor and the stalks are a bit earthy like beets, but some Swiss chard varieties, like Lucullus, have milder stalks. But the reason I personally grow it is because it outperforms most of my salad greens. Unlike spinach, Swiss chard thrives in hot weather while spinach becomes super bitter and almost inedible. Chard makes a perfect spinach substitute! It’s also perfect for container gardening, so I can put a Swiss chard here and there wherever I have space.
Swiss chard is one of the easiest vegetables to grow in containers. You can grow Swiss chard in a container as small as 1 gallon (3.8 L), Swiss chard has shallow roots, so you only need a container at least 6 inches (15 cm) deep. The larger the container, the larger your Swiss chard can grow. If you decide to grow more than one plant in a large container, space them at least 6 to 10 inches apart. Swiss chard loves full sun but will thrive in partial shade. If you decide to grow indoors, keep your grow light on for 10 to 18 hours a day. Swiss chard is a light to moderate feeder and only needs an all-purpose fertilizer or one higher in nitrogen to support leafy growth.
On this page:
Advantages of Growing Swiss Chard in Containers
 If you can’t decide between planting Swiss chard in the ground or in a container, consider the multitude of benefits of using the latter.
Growing Swiss chard in containers means you can control the soil or potting mix you use. That means no soil-borne diseases or pests to deal with. It also means you can easily control the environment around your chard. For example, Swiss chard is frost hardy down to 15°F (-10°C), but growth significantly slows down in cold weather, so you can put the containers near a south-facing wall of your home or make a mini greenhouse with a plastic bag or jug to keep your chard growing when it gets too cold. At the same time, when the weather gets scorching hot, you can move your container to a partial shade area to give your chard some relief and maintain good flavor.
Also, when growing in a container, you get more control over how much fertilizer your Swiss chard gets. You know that the fertilizer you put in there will be taken up by the plants and not just get soaked up by weeds or disperse into the surrounding soil.
Another benefit, especially if you’re older, is that it’s also easier to pick and harvest regularly compared to having to get down and strain your back or your knees. Maintaining a row of container chard plants is much easier than a row of them in the ground.
How to Grow Swiss Chard in Containers
 You can either start from seed or buy starter plants, although I recommend starting from seed as it’s more economical. Sow your seeds (anywhere from 1-3) in moist potting mix or seed-starting mix in a cup, seed tray, or other small container. You can also soak seeds overnight before sowing to help with germination, but it’s not necessary.
Fun fact: Those wrinkly Swiss chard seeds (much like beet seeds) are actually not seeds but little dried seed pods with more than one seed inside, so if you plant even one “seed”, you might notice two, three, or even four sprouts sometimes.
If you’re not using a potting mix or seed-starting mix with nutrients added, then wait until your sprouts get their first true leaves after the first two seed leaves (dicotyledons), and apply a very weak liquid fertilizer (follow your fertilizer’s instructions and then dilute with at least four parts of water) to give your tiny Swiss chard sprouts some nutrients.
Thin out your seedlings to one per container. I recommend cutting them at the base instead of pulling them out as they could disturb the roots of the one you want to keep.
Once your Swiss chard seedlings have at least two or three true leaves, you can safely transplant them into their final container. You could also directly sow them into their final container and thin them out later.
Swiss Chard Container Size
For growing one Swiss chard plant, use at least a 1-gallon (3.8 L) container at least 6 inches (15 cm) deep. Anything smaller will severely stunt your chard. If you have 2-gallon (7.5 L) container, that’s even better for full-sized Swiss chard. Anything larger can easily accommodate more than one Swiss chard plant. Make sure the container has drainage holes and is filled with a rich potting mix, not garden soil.
Swiss Chard Spacing
Swiss chard can sometimes grow very large, larger than your head, but because Swiss chard mostly grows with more vertical leaf stems rather than bushing out like kale, it does not need to be placed very far apart to get good, full-sized chard. You can space Swiss chard as close as 6 inches (15 cm) to 10 inches (25 cm) apart. You can plant chard even closer, but you will have smaller, baby chard leaves instead.
Swiss Chard Root Depth
Swiss chard might be related to beets, but its root depth is actually relatively shallow for its size, typically reaching 6 to 10 inches. This, however, does mean you will need to water large chard plants more frequently if you have a smaller container.
Swiss Chard Light Requirements
Swiss chard has moderate light requirements. It thrives in full sun, but can tolerate partial shade. I’ve grown Swiss chard on the east side of a fence, getting sun for a little more than half the day, without any problems. If you decide to grow Swiss chard in containers indoors, aim for at least 10 hours of light a day, up to 18 hours.
Fertilizer for Swiss Chard in Containers
Swiss chard is very easy to fertilize to maintain the health of your crop. After transplanting, you can use any slow-release fertilizer with a balanced NPK and it should be sufficient. To boost growth and maximize yield, give a balanced or higher nitrogen liquid fertilizer every 7-14 days. Even though Swiss chard is related to beets (it is in fact the same species), this the exact opposite of fertilizing beets, which require lower nitrogen fertilizers to support root growth instead of leaf growth.
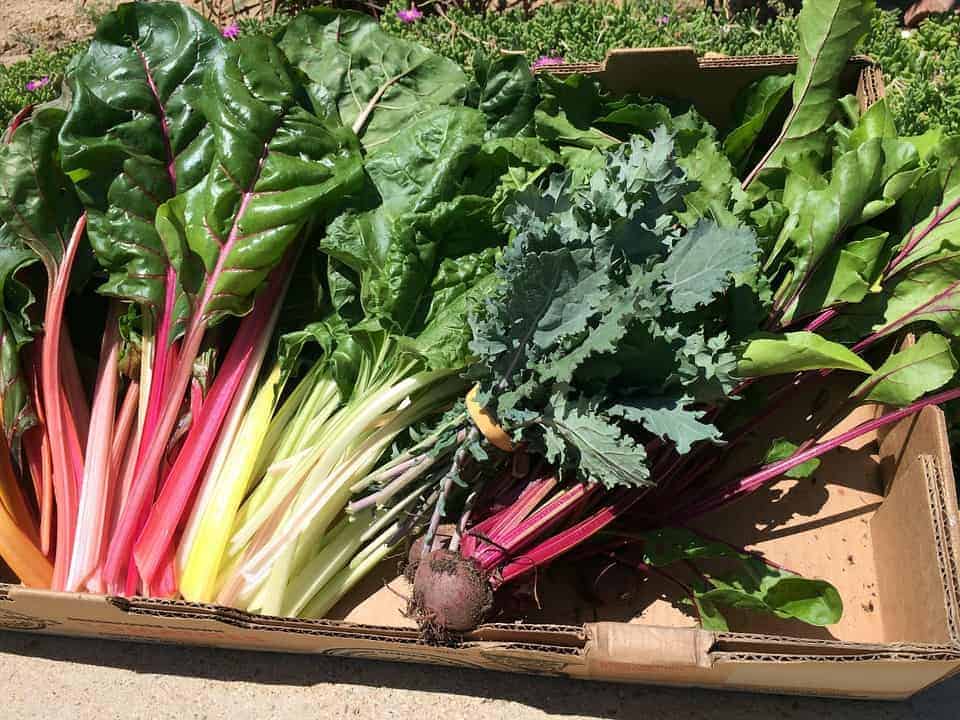
Harvesting Swiss Chard Grown in Containers
 Swiss chard is ready to be harvested at any time, but typically your first harvest of large leaves will happen approximately a month to six weeks after transplanting. Whether you’re growing for the leaf, the stalk, or both, treat Swiss chard like other leafy greens and harvest only the outside mature leaves using the cut-and-come-again method. Leave the inner, small leaves to continue growing so you can harvest them a few weeks later. If you pick chard this way, you can get continual harvests all season long.
One note on flavor: Swiss chard, like other leafy greens, do tend to taste best in the cooler months of the spring and fall. In the hot summer months the leaves may taste slightly bitter and the stalks may get a stronger beet-like earthy flavor. However, unlike most salad greens, chard does not bolt (produce a flower stalk) very easily, so if you live in a warm climate or have terribly hot summers, Swiss chard is your friend!